

Step-by-Step Guide to Rhodium Plating Jewelry
A Step-by-Step Guide to Rhodium Plating Jewelry
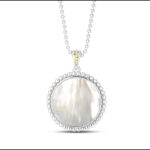
Rhodium plating is a specialist process used to give jewelry like white gold a bright, tarnish-resistant finish. Using electroplating, a thin layer of rhodium is applied to the surface of the jewelry, improving reflectivity, scratch resistance and overall wear.
This guide outlines the full process using an electroplating unit. It covers the equipment required, how to prepare your jewelry and the correct procedure to ensure a smooth, professional quality finish.
What You’ll Need
Set up your workspace with the following:
- Electroplating unit
- Rhodium plating solution
- Degreasing solution (made with electrolytic cleaning salts)
- Acid dip (such as sulphuric acid or activator)
- Steel anode (for degreasing)
- Platinized titanium anode
- Copper wire or plating jig
- Distilled water
- PPE: gloves, goggles, apron, ventilation
- Optional: immersion heater
- Optional: extractor and filtration unit for fumes (e.g. 998 H003)
Tip: Make sure the jewelry is thoroughly cleaned and finished to your desired surface quality before beginning.
The Plating Process
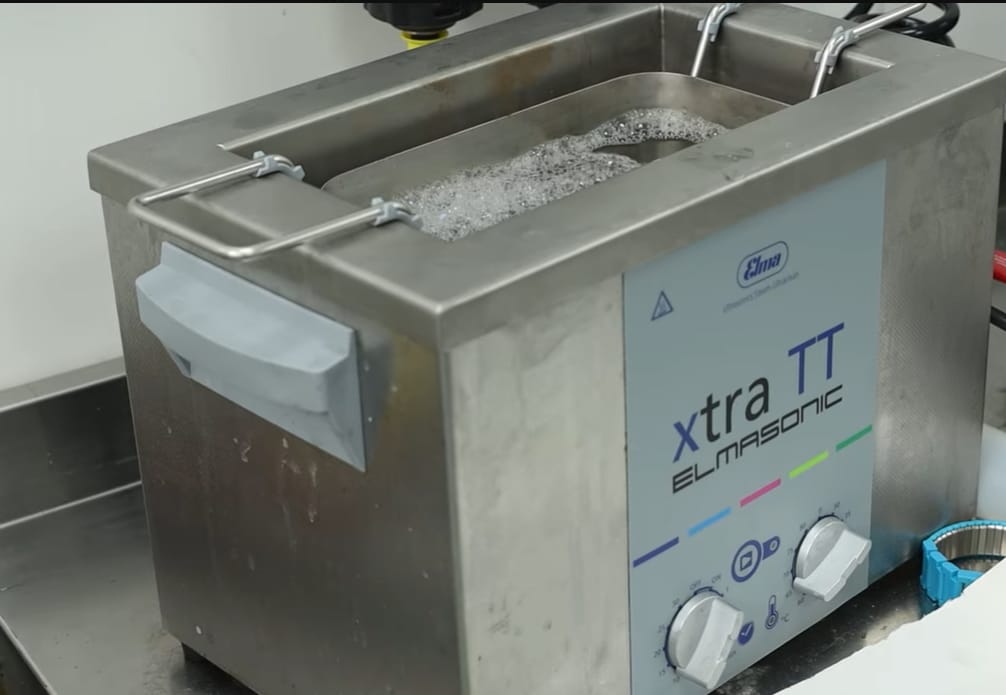
1. Pre-Clean
Use an ultrasonic cleaner or warm soapy water to remove any grease, polishing compound or dirt. Rinse well with distilled water and allow to dry. Any contamination will affect the final finish.
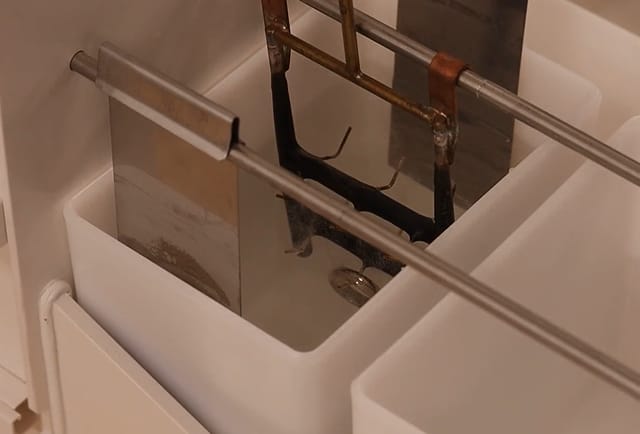
2. Prepare the Plating Unit
You’ll need four separate containers:
- Degreasing solution: mix up to 5 tablespoons of degreasing salts into distilled water until fully dissolved
- Acid dip
- Rhodium plating solution
- Final rinse (distilled water)
Insert the correct anodes into the appropriate baths. Secure the jewelry onto a jig or copper wire.

3. Heat Solutions (If Required)
If your degreasing solution or rhodium plating bath needs heating, use the immersion heater and thermostatic control. Check your solution’s datasheet for correct temperature ranges.
4. Degreasing
Place the jewelry in the degreasing bath and apply a current. For our solution, set the temperature between 20–30°C and the voltage between 4–5V. Submerge for around 30 seconds. Once complete, rinse immediately in distilled water.
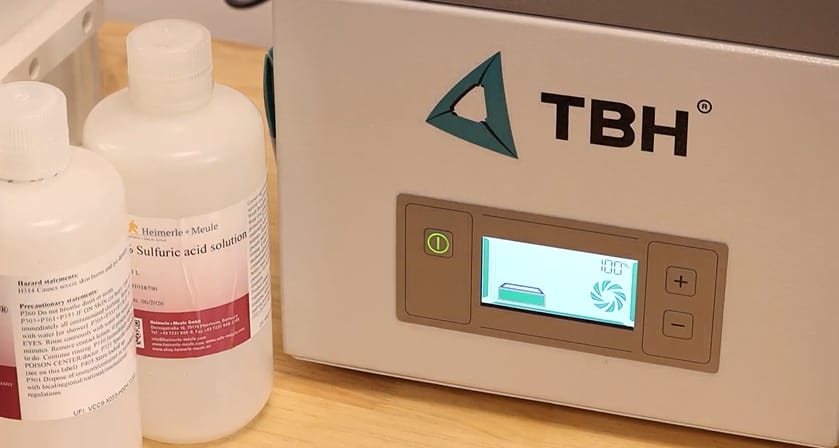
5. Acid Dip
Transfer the jewelry into the acid dip for 30 seconds to 1 minute. This removes any oxides and activates the surface. No power is usually required unless you’re using an electrolytic activator. Rinse thoroughly with distilled water.
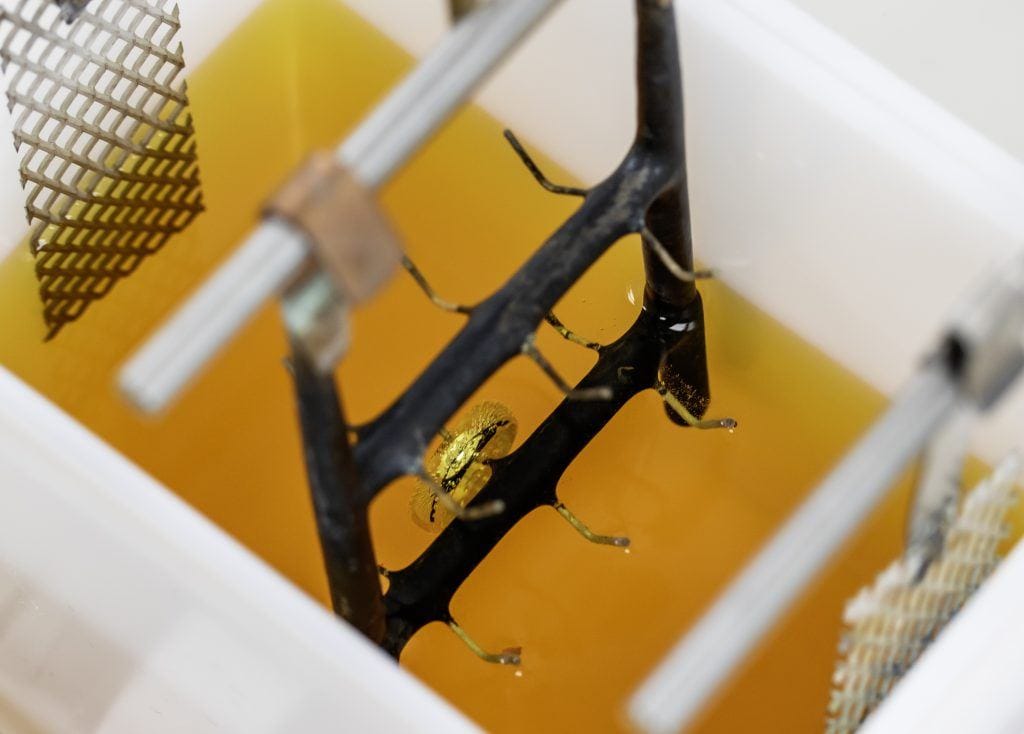
6. Rhodium Plating
Submerge the jewelry into the rhodium plating solution and connect it to the cathode (negative terminal). Place the platinized titanium anode into the bath, ensuring it remains submerged but does not touch the jewelry.
Apply power — typical rhodium plating operates between 1.7V and 2.2V. Plating time is approximately 2 to 3 minutes depending on the desired coverage and solution type. Gently agitate the jewelry throughout the process using the cathode rod to prevent bubbles and ensure an even coat.
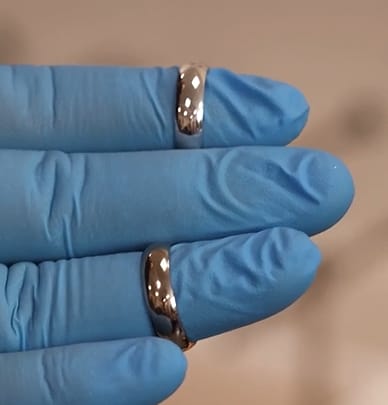
7. Final Rinse and Inspection
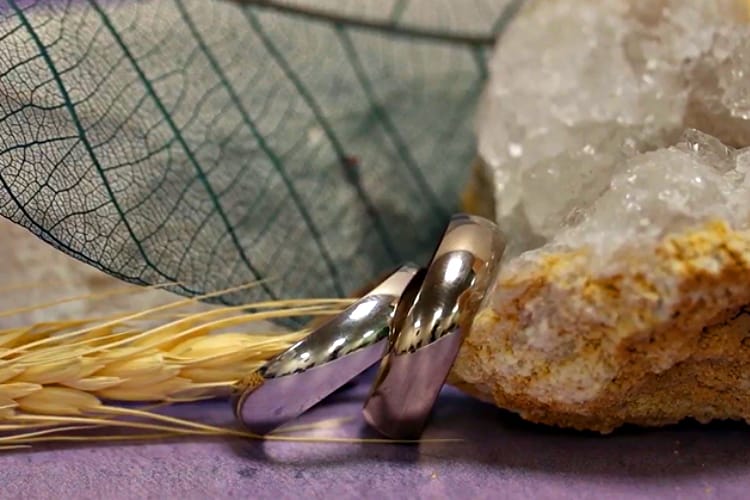
Once plating is complete, place the item in a clean distilled water bath to rinse thoroughly. Remove and dry, then inspect the surface. A well-plated item will show a bright, consistent finish.
Tips for Better Results
- Always handle cleaned jewelry with gloves to avoid contamination
- Rinse well with distilled water between every step
- Use separate tweezers or holders for each solution to keep baths uncontaminated
- Check electrical connections are secure and consistent
- Monitor voltage and current using the LCD rectifier display on your electroplating unit
With the correct setup and a careful, step-by-step approach, rhodium plating can offer a high-end, mirror-like finish that enhances both the look and wearability of your jewelry. It’s a process for jewelers looking to achieve fantastic results.
Source: Cookson Gold.