Jewelry Soldering Basics
Learn about soldering as it relates to jewelry making, including basic soldering steps and safety precautions that should be taken when soldering.
What is soldering as it relates to jewelry making?
Learning to solder is an essential jewelry making skill that can elevate your work and greatly expand your skill set as a jeweler. In the context of jewelry making, soldering is the process of joining metal parts together using heat and an alloy which melts at a lower temperature than the metals being joined. An alloy is a mixture of two or more metals. When metals are combined into an alloy, the melting temperature of the resulting alloy will be lower than that of the parent metals. For example, sterling silver is an alloy of silver (92.5%) and copper (7.5%). The melting temperature of pure silver is 1,761°F and the melting temperature of copper is 1,981°F. When those two metals are combined to make sterling silver, the melting temperature of that alloy is 1,640°F.
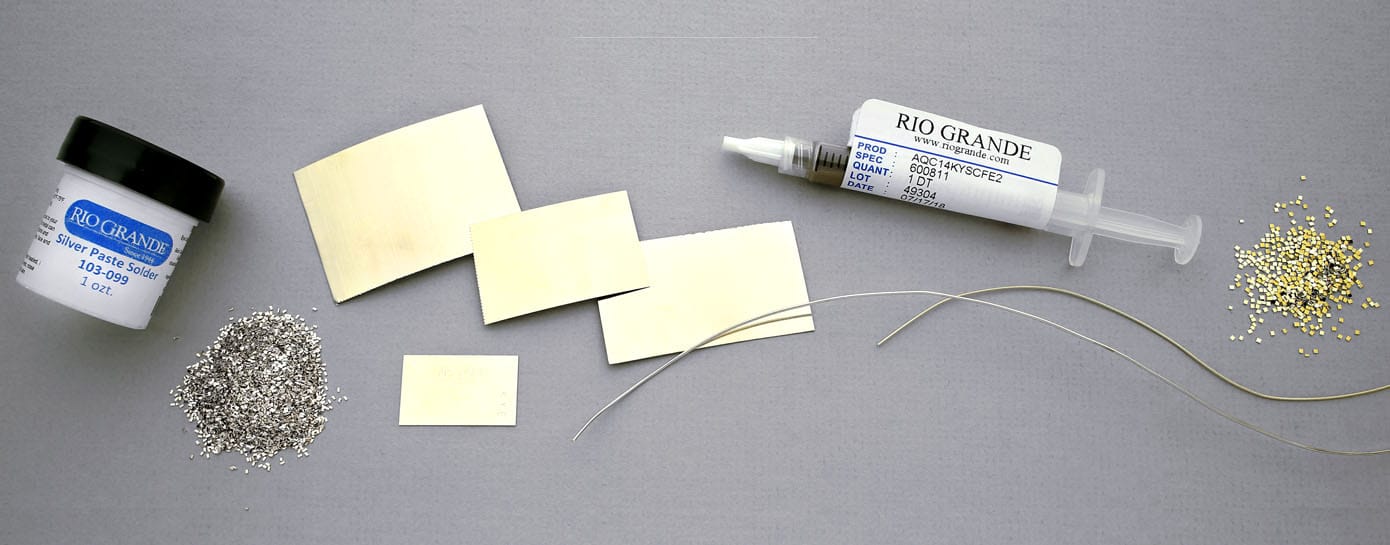
Precious metal solder is typically an alloy made from the same metal you are trying to join. Silver solder is an alloy of silver, copper and zinc. The amount of alloying materials control the melting temp of solders. There are different densities of silver solder that melt at different temperatures including extra-easy, easy, medium and hard. This handy chart shows the silver solders with their melting temperatures and common applications. On jewelry pieces needing multiple soldering applications, it is helpful to have solders of different melting points to work with so that your jewelry piece stays together as you construct it. Hard solder melts at the highest temperature, has the highest silver content and is the closest color match compared to other silver solders. As the solders go down in melting points, the alloys contain more copper, making the solder more yellowish in color. It is important to note that each time solder flows, its melting point is raised, meaning that the next time it is heated it will melt at a slightly higher temperature than a piece of the same solder that has not been melted yet. This is because each time the solder is brought to a liquid state, some of the zinc burns off, thereby slightly increasing the melting temperature.
Safety First: What does a safe soldering area look like?
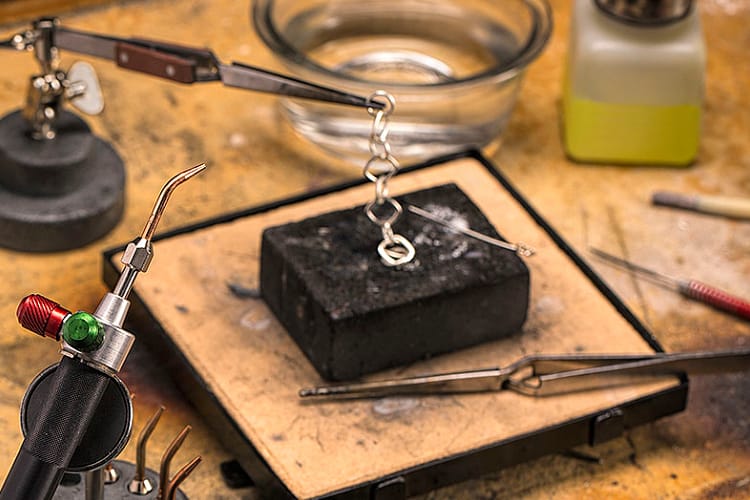
Soldering jewelry requires the use of an open flame and chemicals, therefore, certain safety measures should be taken when preparing a workspace for soldering. It is a good idea to create a fireproof surface to work on, such as a ceramic tile placed on a table top or a stainless steel work table. This area should be clear of anything flammable. You may also want to protect the floor you are working over, as hot metal or tools can fall when soldering, melting carpet or leaving burns on hardwood. When soldering, it is also important to have adequate ventilation. Soldering should be done in an area with good air flow or with a fume extraction system. Safety glasses should be worn and long hair should be tied back when soldering. It is also recommended to avoid loose clothing, wear natural fabrics, like cotton, that won’t melt when burned, or to wear a protective apron. Always wash hands after working and keep food and drink away from your workspace. Make sure to read instruction manuals that come with any tools or equipment you purchase and keep them for reference. Materials Safety Data Sheets are available for any chemicals or other materials used in soldering. At Rio Grande, we prioritize safety and offer a broad range of personal protective equipment to help you take care of your health.
Basic Steps to Soldering
Now that you have a good handle on safety measures to take when soldering and the necessary tools and equipment, you are ready to start soldering! The following are some simple steps to help you begin soldering your jewelry.
- Preparing Your Piece for Soldering – Dirt, oil, oxidation and tarnish can all prevent solder from flowing. Metal should be cleaned with a degreasing soap or pickle (or both, depending on how dirty it is) prior to soldering.
- Ensuring a Good Fit – Solder flows by capillary action and will not fill gaps. A good, tight and clean fit is essential for a strong solder joint. Make sure metal pieces are filed to fit one another precisely. Pieces can be held up to the light to check for gaps.
- Fluxing your Piece – Flux keeps metal clean, enabling solder to flow. Flux also helps minimize fire-scale, acts as a visual temperature indicator (flux turns glassy at 1,100°F and will turn bluish green if overheated) and helps solder stick where it is intended. Flux should be applied on all sides of an area to be joined with solder. Barrier flux can be applied to an entire piece to help prevent fire-scale.
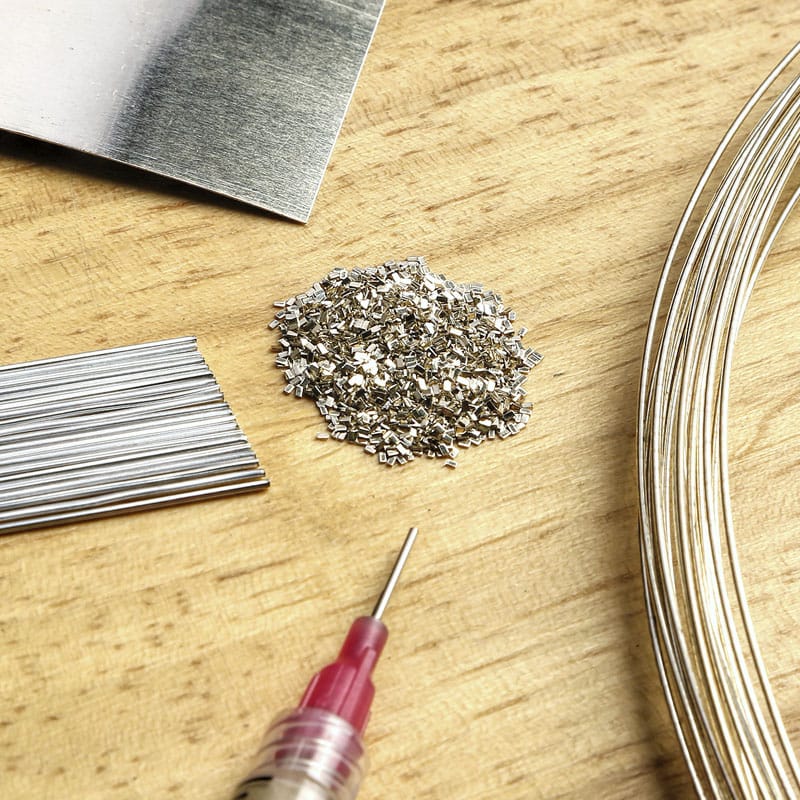
- Applying Solder – Solder should be cut into small chips or pallions prior to soldering. Large pieces will be harder to melt and will require more cleanup afterwards. Solder chips should be kept in the range of 1 to 4 mm long. When working on a piece with multiple solder applications, start with hard solder, use medium next, and then easy. This will help prevent seams from opening up while other parts are being joined. Place small pieces of solder on the seam using a solder pick or tweezers. Solder chips can also be added after the flux has been heated, to avoid movement as moisture in the flux is boiled off.
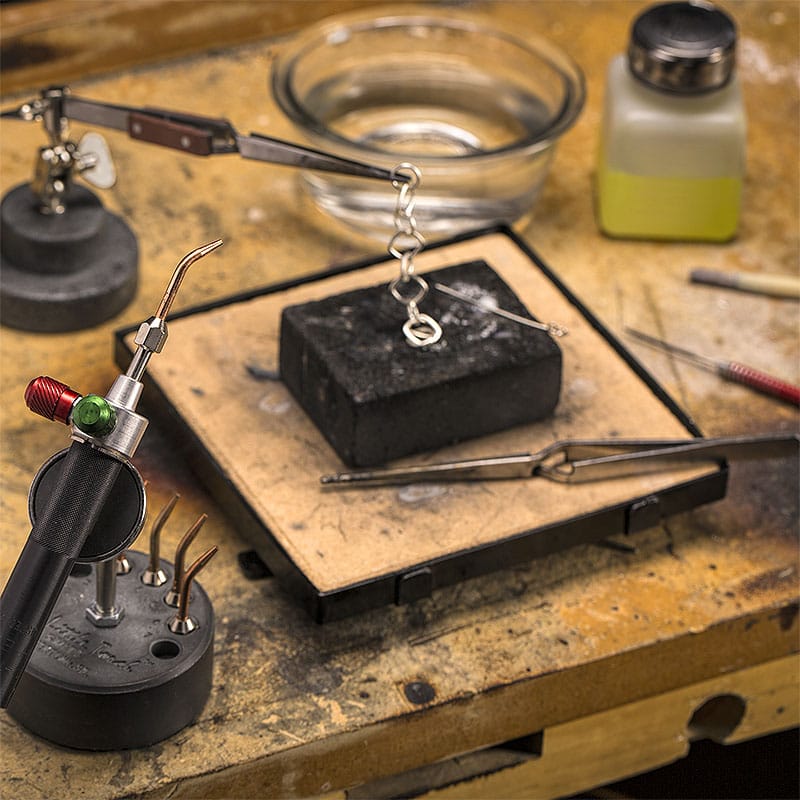
- Applying Heat – When soldering silver, heat should be applied evenly to the entire piece. It can be tempting to hold the torch right at the solder seam, but the solder will not flow until the entire piece has been brought up to the melting temperature of the solder. The hottest part of the torch flame is about a quarter of an inch in front of the sharp blue cone at the torch tip. Use the hottest part of the flame and heat the entire piece evenly. Be aware of areas on the workpiece that are thicker or larger, as these will take more heat than thinner areas. Solder will flow to the hottest area first. Make sure to choose a torch tip size appropriate for the scale of work you are soldering. A torch tip that is too large can cause pieces to melt accidentally, and a torch tip that is too small can cause solder not to flow.
- Quenching – Metal can be air cooled or quenched after soldering. If quenching, always quench in water first. Quenching in pickle can spray hot acid and release dangerous fumes so should be avoided. Typically, metal should not be quenched when red hot as this can cause stress to the metal. Some metals, like Argentium®, should not be quenched at all when hot as this can cause the metal to crack.
- Cleaning Up – After soldering, jewelry pieces should be cleaned in a pickle solution to remove oxidation and flux. After pickling, the piece should be rinsed in water or neutralized in a baking soda and water solution. If fire-scale occurs, it will need to be removed with careful filing and sanding.
Get Started Soldering!
With an understanding of the different materials and equipment used in soldering for jewelry, you can take your jewelry making skills to the next level and add another valuable skill set to your practice. If you need help selecting soldering tools and supplies, be sure to read “Equipment Needed for Soldering Jewelry”. Our Jewelry Tech Team boasts seven master jewelry technicians, representing two centuries of practical hands-on knowledge and is on call to answer your questions regarding soldering or anything jewelry related. Knowing how to solder can open up many doors to new jewelry making techniques in fabrication and can really improve your work as a jeweler. Take a look at our extensive collection of soldering equipment and supplies online or in our catalog and get started soldering today!
Source: Rio Grande