Flex Shaft Maintenance
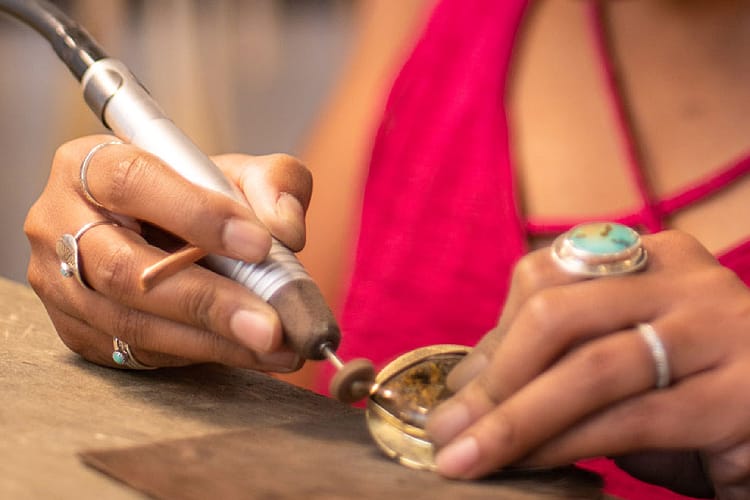
Keeping your flex shaft in peak condition is a must for any jeweler. Follow these 14 easy steps to maintaining your jewelry making flex shaft.
Maintenance is very important if you own a flex shaft. It will extend the life of your tool and could positively impact its operation, too. This blog covers the basic maintenance procedures that you should schedule for every 40-50 hours of use. In our studio, that averages to every six months.
Plan to spend 15-20 minutes on the basic maintenance that is broken down into 14 steps below. Don’t forget to gear up! Apron and safety glasses are necessary and it wouldn’t hurt to wear gloves since it involves oil.
Note: We have two different brands of flex shafts in the studio and the same steps work for both of them.
Part 1: Motor Brush Replacement
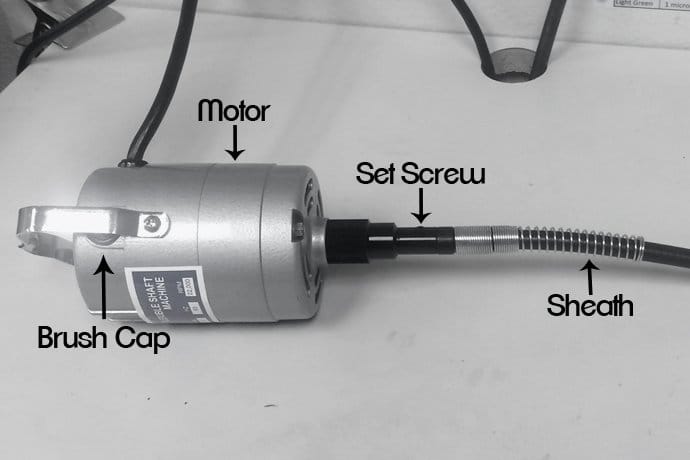
Diagram of the flex shaft motor
Tools used:
- Compressed Air
- Flat Head Screwdriver
- Replacement Motor Brushes (if needed)
Breakdown
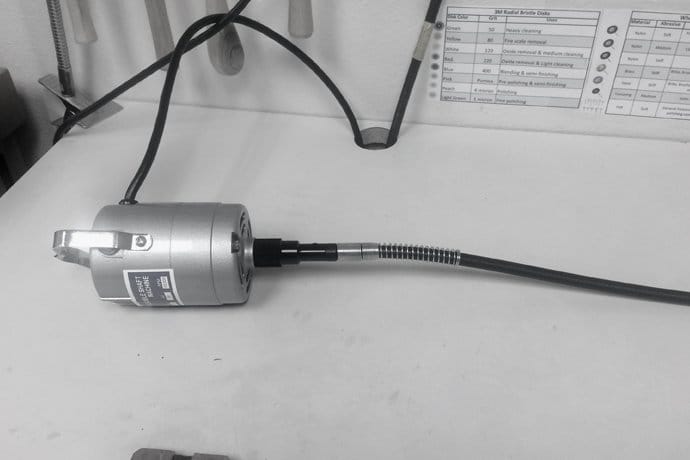 |
Step 1:Unplug your flex shaft, then stretch it out on a long table. |
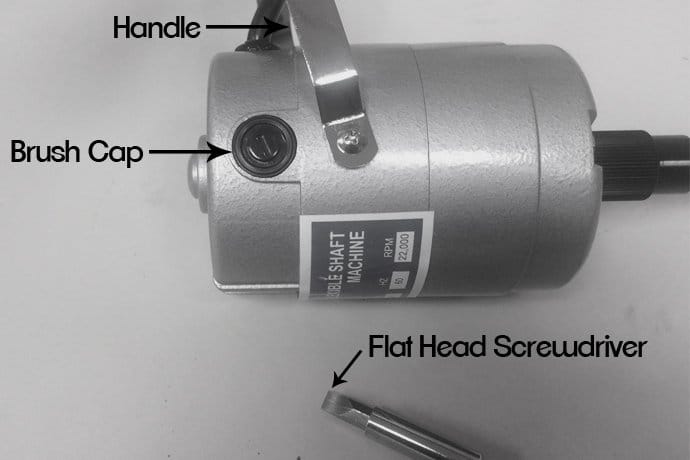 |
Step 2:Underneath the hanging handle is the brush cap. (Note: there is one located on either side of the motor.) Use your flathead screwdriver to unscrew one side. |
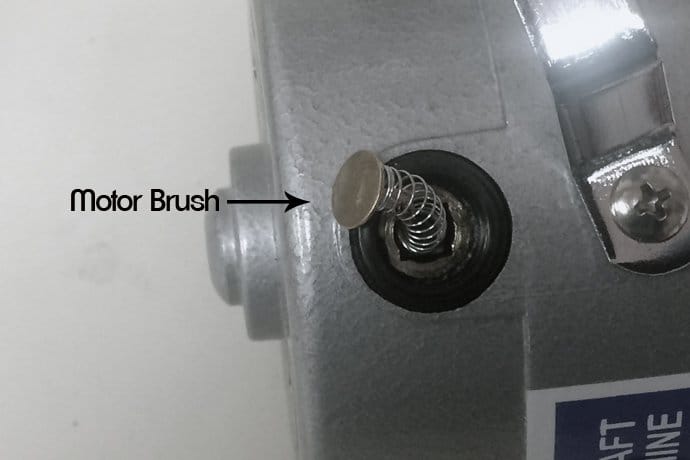 |
Step 3:Once you unscrew the cap, the coil on the motor brush will pop out. Pull the brush out. |
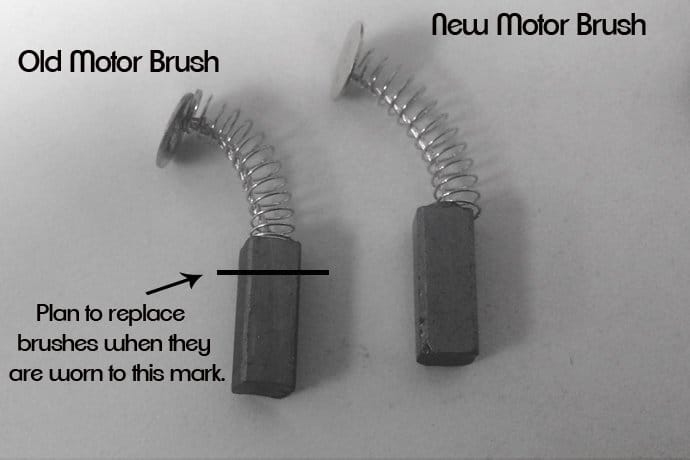 |
Step 4:Compare the old and new brush. The one I pulled out was still new with very little wear and tear showing, so there is no replacement necessary during this round. Repeat steps 2 & 3 for the other side of the motor. |
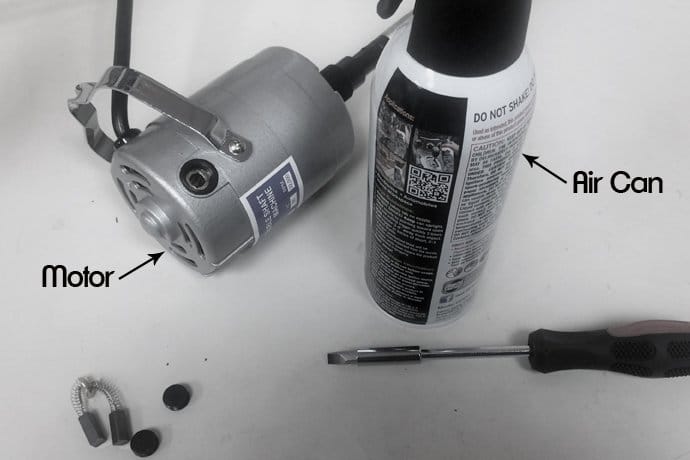 |
Step 5:Spray the motor with a can of compressed air. This will dust off the fan blades and the motor housing from debris that builds up inside. Place your brushes back into the motor and secure the caps. |
Part 2: Shaft Maintenance
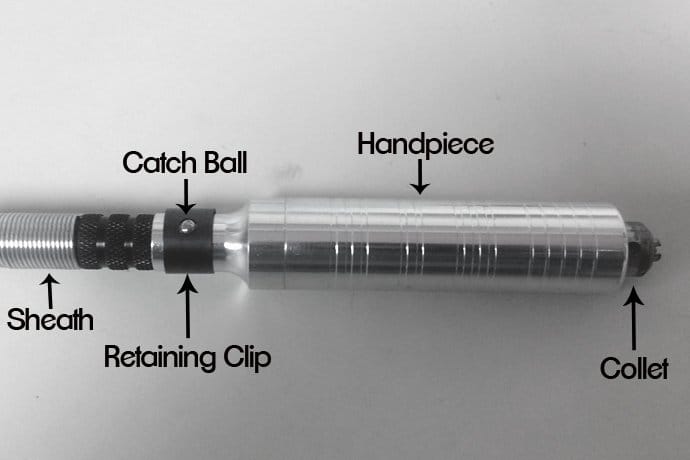
Diagram of the outer handpiece
Tools used:
- Lubricant Oil
- Allen Wrench
- Trash Can or Bucket
Breakdown
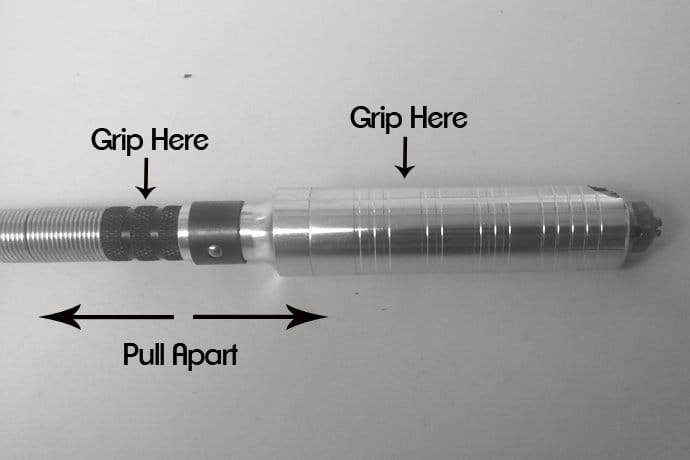 |
Step 1:Grip the shaft and handpiece firmly and pull them apart. Place the handpiece aside. You won’t need it during the shaft maintenance part of the process. |
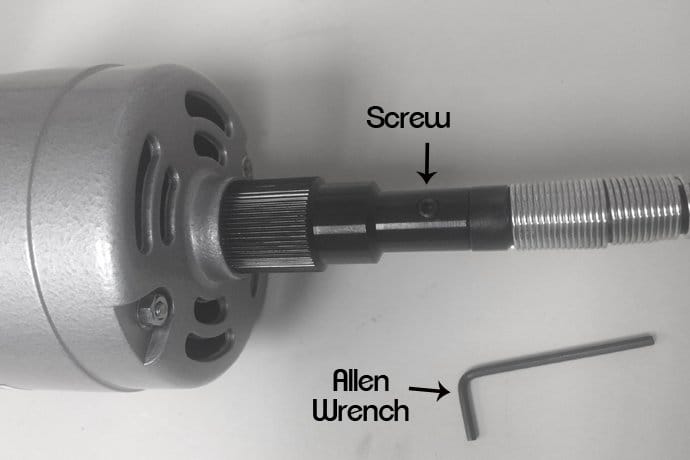 |
Step 2:Use the Allen wrench on the set-screw. You do not have to remove the entire screw, just a couple turns of the Allen wrench will do. |
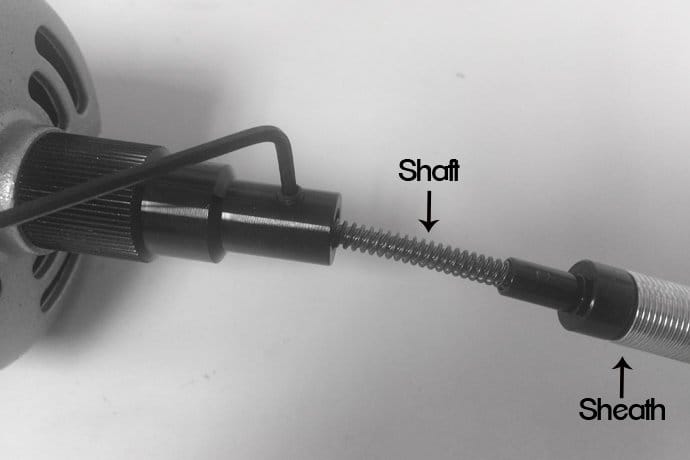 |
Step 3:Pull the sheath away from the motor to expose the shaft. When the sheath is completely off, place it to the side. |
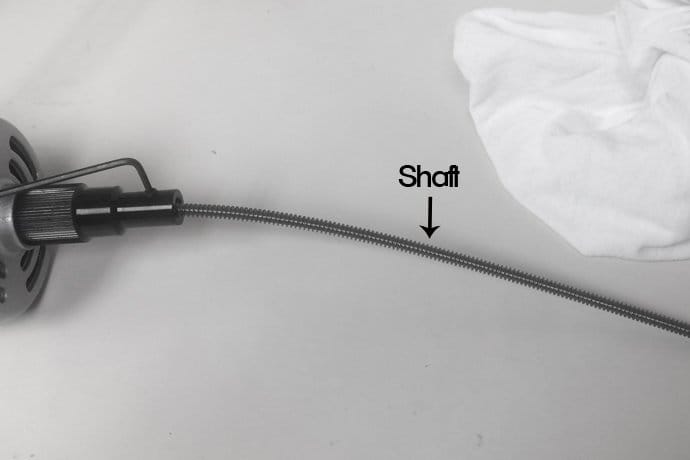 |
Step 4:Using a clean rag, wipe off the shaft to remove the old oil. |
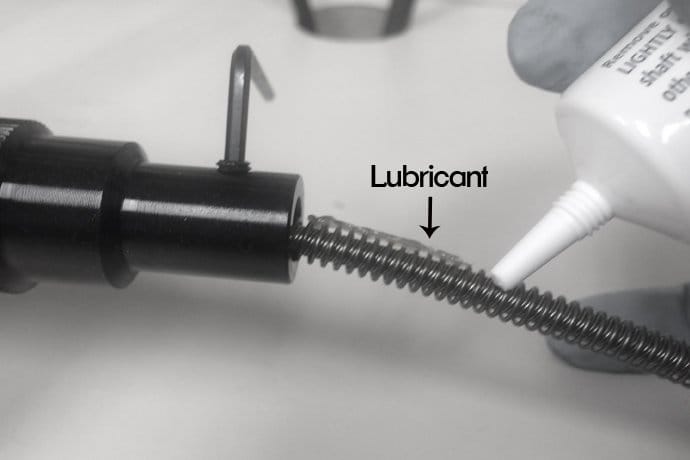 |
Step 5:Run a thin strip of oil down the shaft. (Note: Using too much can harm the shaft, so keep the strip super thin. It doesn’t take a lot.) |
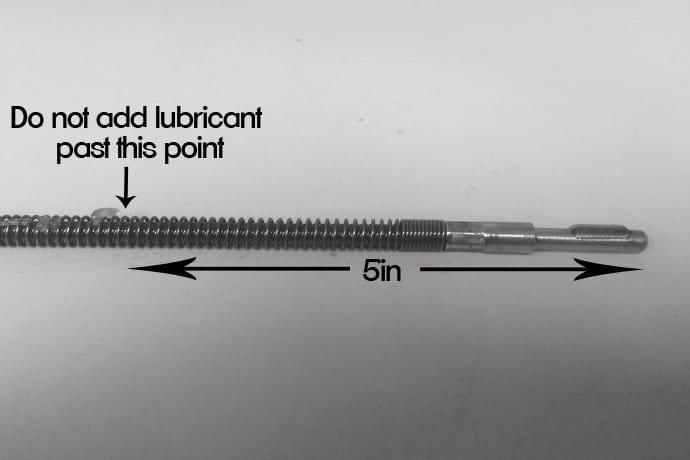 |
Step 6:When you’re 5in away from the end of the shaft, stop adding lubricant. You don’t want it anywhere near the handpiece. |
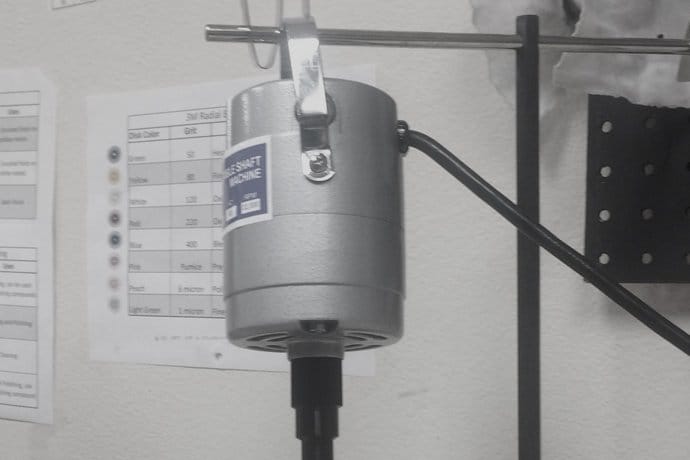 |
Step 7:Place the sheath back over the shaft and use the Allen wrench to tighten it back on. Do not attach the handpiece yet. Hang the flex shaft back up and plug the power cord back into the wall. |
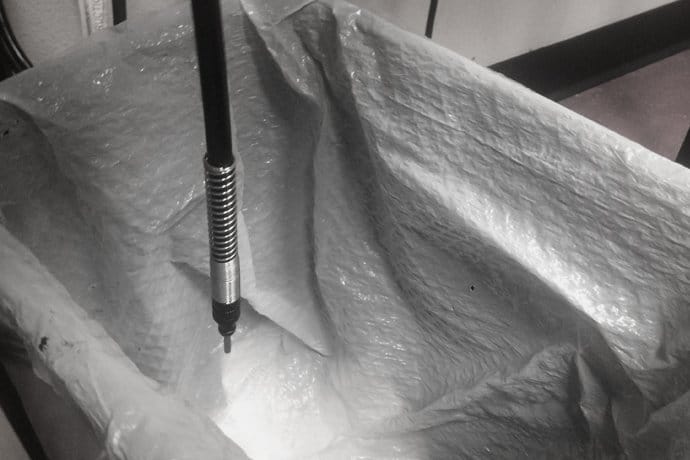 |
Step 8:With the shaft hanging over a trash can or bucket, run the flex shaft at full speed for 8-10 minutes. This heats up the oil that you just applied and lubricates the entire shaft. If you see oil in the trash can, you’ve added too much. Remove the sheath and use a cloth to wipe the shaft to remove the excess oil. |
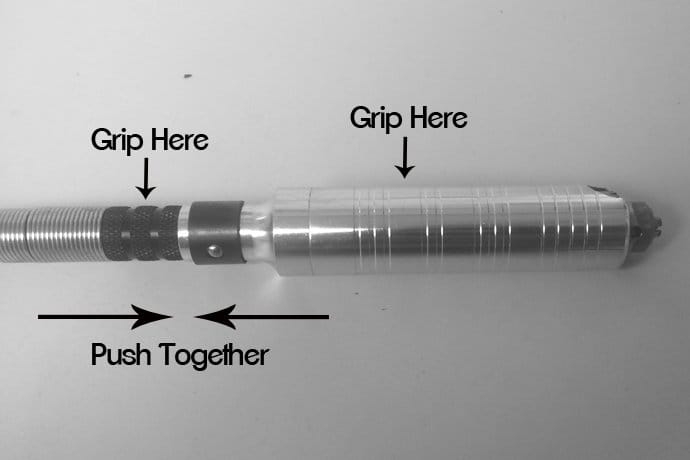 |
Step 9:Grip the sheath and the handpiece and push them firmly back together. You’re done! |
Source: Halstead