Untangling Jewelry Chain

Nothing can irk you more than untangling jewelry chain. It’s frustrating and can easily ruin your day, especially if you’re dealing with multiple pieces of finished chain or a pile of tangled footage chain. I asked the Logistics team at Halstead if they have any tips to untangling jewelry chain and they sent several my way, including a few stories as well.
“We started in 1973, but it was mainly African Trade Beads and other kinds of beads in the beginning. In the mid 70’s we started to buy lots of mill products. One day I went to the vendors to place an order for more mill stock and when I arrived the owner was frustrated because he had a tangled mess of chain in his hands. I asked him if I could buy the hank of chain off of him and of course, he said yes. I took it home and untangled the entire knotted mess. It sold so fast that I’ve carried chain ever since.” – Tom Halstead, Founder
How to Untangle Jewelry Chain
Tip 1: Get the hank of chain in a complete circle so that the palm of your hand is wearing the chain like a necklace. Put the other hand inside the circle of chain and run hands around the inside of the chains using your hands to hold the chain taut. This helps to separate chains that are slightly tangled and helps defeat possible future tangles. – Lisa
Tip 2: Open a single chain and pull it through the knot, then close the chain and repeat it. – Justin

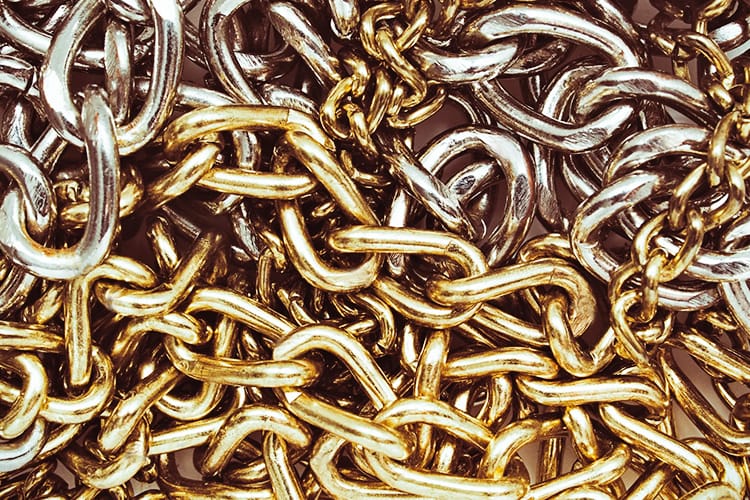
Tangled Jewelry Chain on Rack
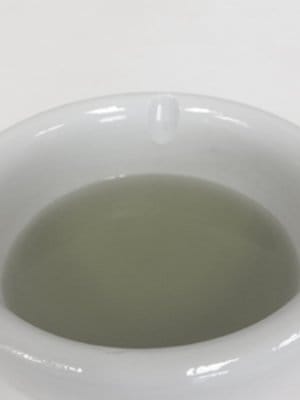
Tip 3: Use a needle to work inside knots. If you’re working with gold or silver chains, you can also add a dab of coconut oil for lubrication, which won’t tarnish or harm your jewelry. – Melissa
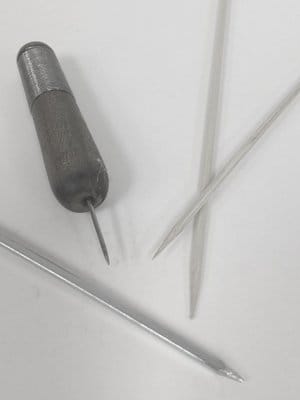
Tip 4: When untangling jewelry chain I like to use a wooden skewer and slip it through the middle of the tangle to loosen it and make it easier to untangle. This works for both finished and footage. – Heidi

Untangling Sterling Silver Chain using Coconut Oil
“I had a tangled mess with 1mm finished cable chains that took almost two weeks to get untangled. After working on the tangles for about two hours a day and having no results, I was getting quite frustrated. Oddly enough, just about the time I was ready to give up, I got a single chain free, then another, and a third! Now I know that getting 3 cable chains free out of a group of 100 or more didn’t really mean much, but it gave me just enough encouragement to keep focused on the task and next thing you know, the chain was just falling out of the knots.” – Allen, Logistics
Tip 5: I always suggest laying the tangled chain out flat on a smooth surface, try using something pointed to work into the knot with a wooden skewer and gently slide the knots out to the edge of the chain. Usually, this gives me the ability to break the knot into smaller more manageable segments. – Allen
Tip 6: When untangling jewelry chain I usually try to find a small toothpick sized instrument and visually identify where the knot is coming from. Next, I would isolate a single chainand try to separate it from the other chain in the same fashion that one would untie a knot in a shoelace. If multiple chains are tangled the same idea applies, just one chain at a time. – Justin

Untangling Jewelry Chain Using Pointed Utensils
“Starting when Hilary was 5 or 6 years old, she and I would sit on the floor and untangle chain together. I built a large wooden block that had pegs all over it and we would stretch the chain all across those pegs while we were untangling it. We always approached it like a puzzle and that’s why she enjoyed untangling chain so much. She was always involved in the business though. At 6 years old, customers would come to purchase products and Hilary would show them her drawings and then turn around and sell them for a nickel a piece. By the time she was 11 years old, we began to sell in Tucson (Gem & Mineral Show). We would rent a room and customers would come in specifically asking for Hilary because she already had her own customers at that age.” – Tom Halstead, Founder
Tip 7: My go-to process for this situation is to try to get as many chains as you can together in one loop. Try to separate the very tangled chains away from the not so tangled chains simply by gently pulling them away from each other in small groups. The remaining tangled chain is usually very difficult and time-consuming. I try to single them out and unclasp them and then pull from the clasp side outward until it finally snakes its way through. Things to look for: sometimes the individual chain links will catch onto the clasp lever and I look to undo those first as they are usually the culprit for a lot of tangles I see. Also using a sharp stick and poking the center of a knotted chain and then pulling outward without moving the stick helps with those smaller clusters. – Kevin
Tip 8: I look for spliced chain first of all and I will try to unhook any caught up chain. If that’s not the case then I will usually just unravel the footage chain until it’s no longer tangled up and re-spool it as that’s usually the fastest and least stressful way. Any attempt at untangling chain without unspooling doesn’t usually work for me. – Kevin

“After 14 years I’ve dealt with my fair share of tangled messes. Probably one of the worst was a new employee who had accidentally dropped 100 loose finished chain on the floor. There were no twist ties to keep the chains from tangling! The employee silently tried to untangle them, suffering in silence. After about a week they came to me for advice. I told them that this happens to everyone, and over time they’ll get better at it. I took the chain and sent them on their way. That’s when I noticed that about HALF of the chains had been unclasped in an effort to get the chains apart (which took a couple of months to get untangled). Needless to say when training on finished chain now, we’ve added a section on untangling jewelry chain and how it’s so important to not unclasp several chain as you try to get them apart.” – Amanda, Logistics
Packaging & Storing Jewelry Chain
Once you have all of the tangles out, properly storing and packaging jewelry chain is another hurdle.
Finished Chain
With finished jewelry chain, we individually bag the thinner chain and we bundle the thicker chain in packs of 10 or 25. When packaging the packs of 10 or 25 pieces we use two twist ties at either end of the chain bundles to prevent tangles from occurring.
- When storing finished chain for long periods of time it is a good idea to put the jewelry chain into sealed ziplock bags with anti-tarnish tabs
- If it’s less than 10 pieces, store them with a safety or gourd pin. Just thread the pin through the lobster claws or spring rings to secure the bundle.


“Funny and Tangled do not go together in the same sentence. Or in the same room. Or planet. There is NOTHING Funny about Tangled Chains – they are and continue to be a cause to groan and tear your hair out. Or seek other employment. We had one snarl of some finished fine unclasped cable chains that everyone tried working on with headpins to pin and pull and separate – and I think it sat up here in Customer Service for an entire year before they scrapped it. The fewer the chains the easier to untangle – the more – impossible.” – Lori, Customer Service Representative
Footage Chain
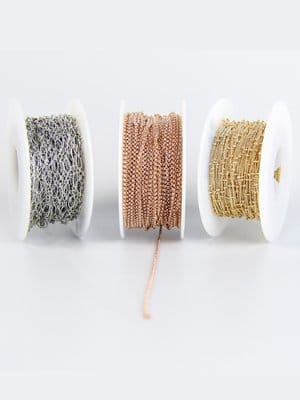
With jewelry footage chain we spool everything over 120″ inches. With 120″ or less we will put the chain on a tab or twist tie the chain together.
- Chain spools should always be stored on the flanges like a wheel. Do not stack them flat like donuts. When you stack chain spools, the loops on the spool core tend to slacken and cross over one another. This is the primary cause of tangles on spooled chain. Storing your spools on a rod or in a bin where they can’t roll away will minimize problems.
- Always tape your chain ends on spools. Keeping the chain taut on the spool will prevent loose chain loops from tangling.


Source: Halstead